使用Streamlit快速构建LLM应用,并基于Streamlit-Authenticator实现用户权限认证

转载请注明出处❤️

作者:测试蔡坨坨

原文链接:caituotuo.top/3be51b30.html


🧠 使用 Streamlit 快速构建 LLM 应用

你好,我是测试蔡坨坨。

随着人工智能的飞速发展,传统前端框架的开发速度难以满足我们想要实现从 “idea” 到 “产品” 的高效试验和转化。而 Streamlit 作为 AI 应用开发中非常流行的 Python 框架,可以帮助我们快速构建 LLM 应用,实现更高效的原型开发和迭代。

官网:https://streamlit.io/

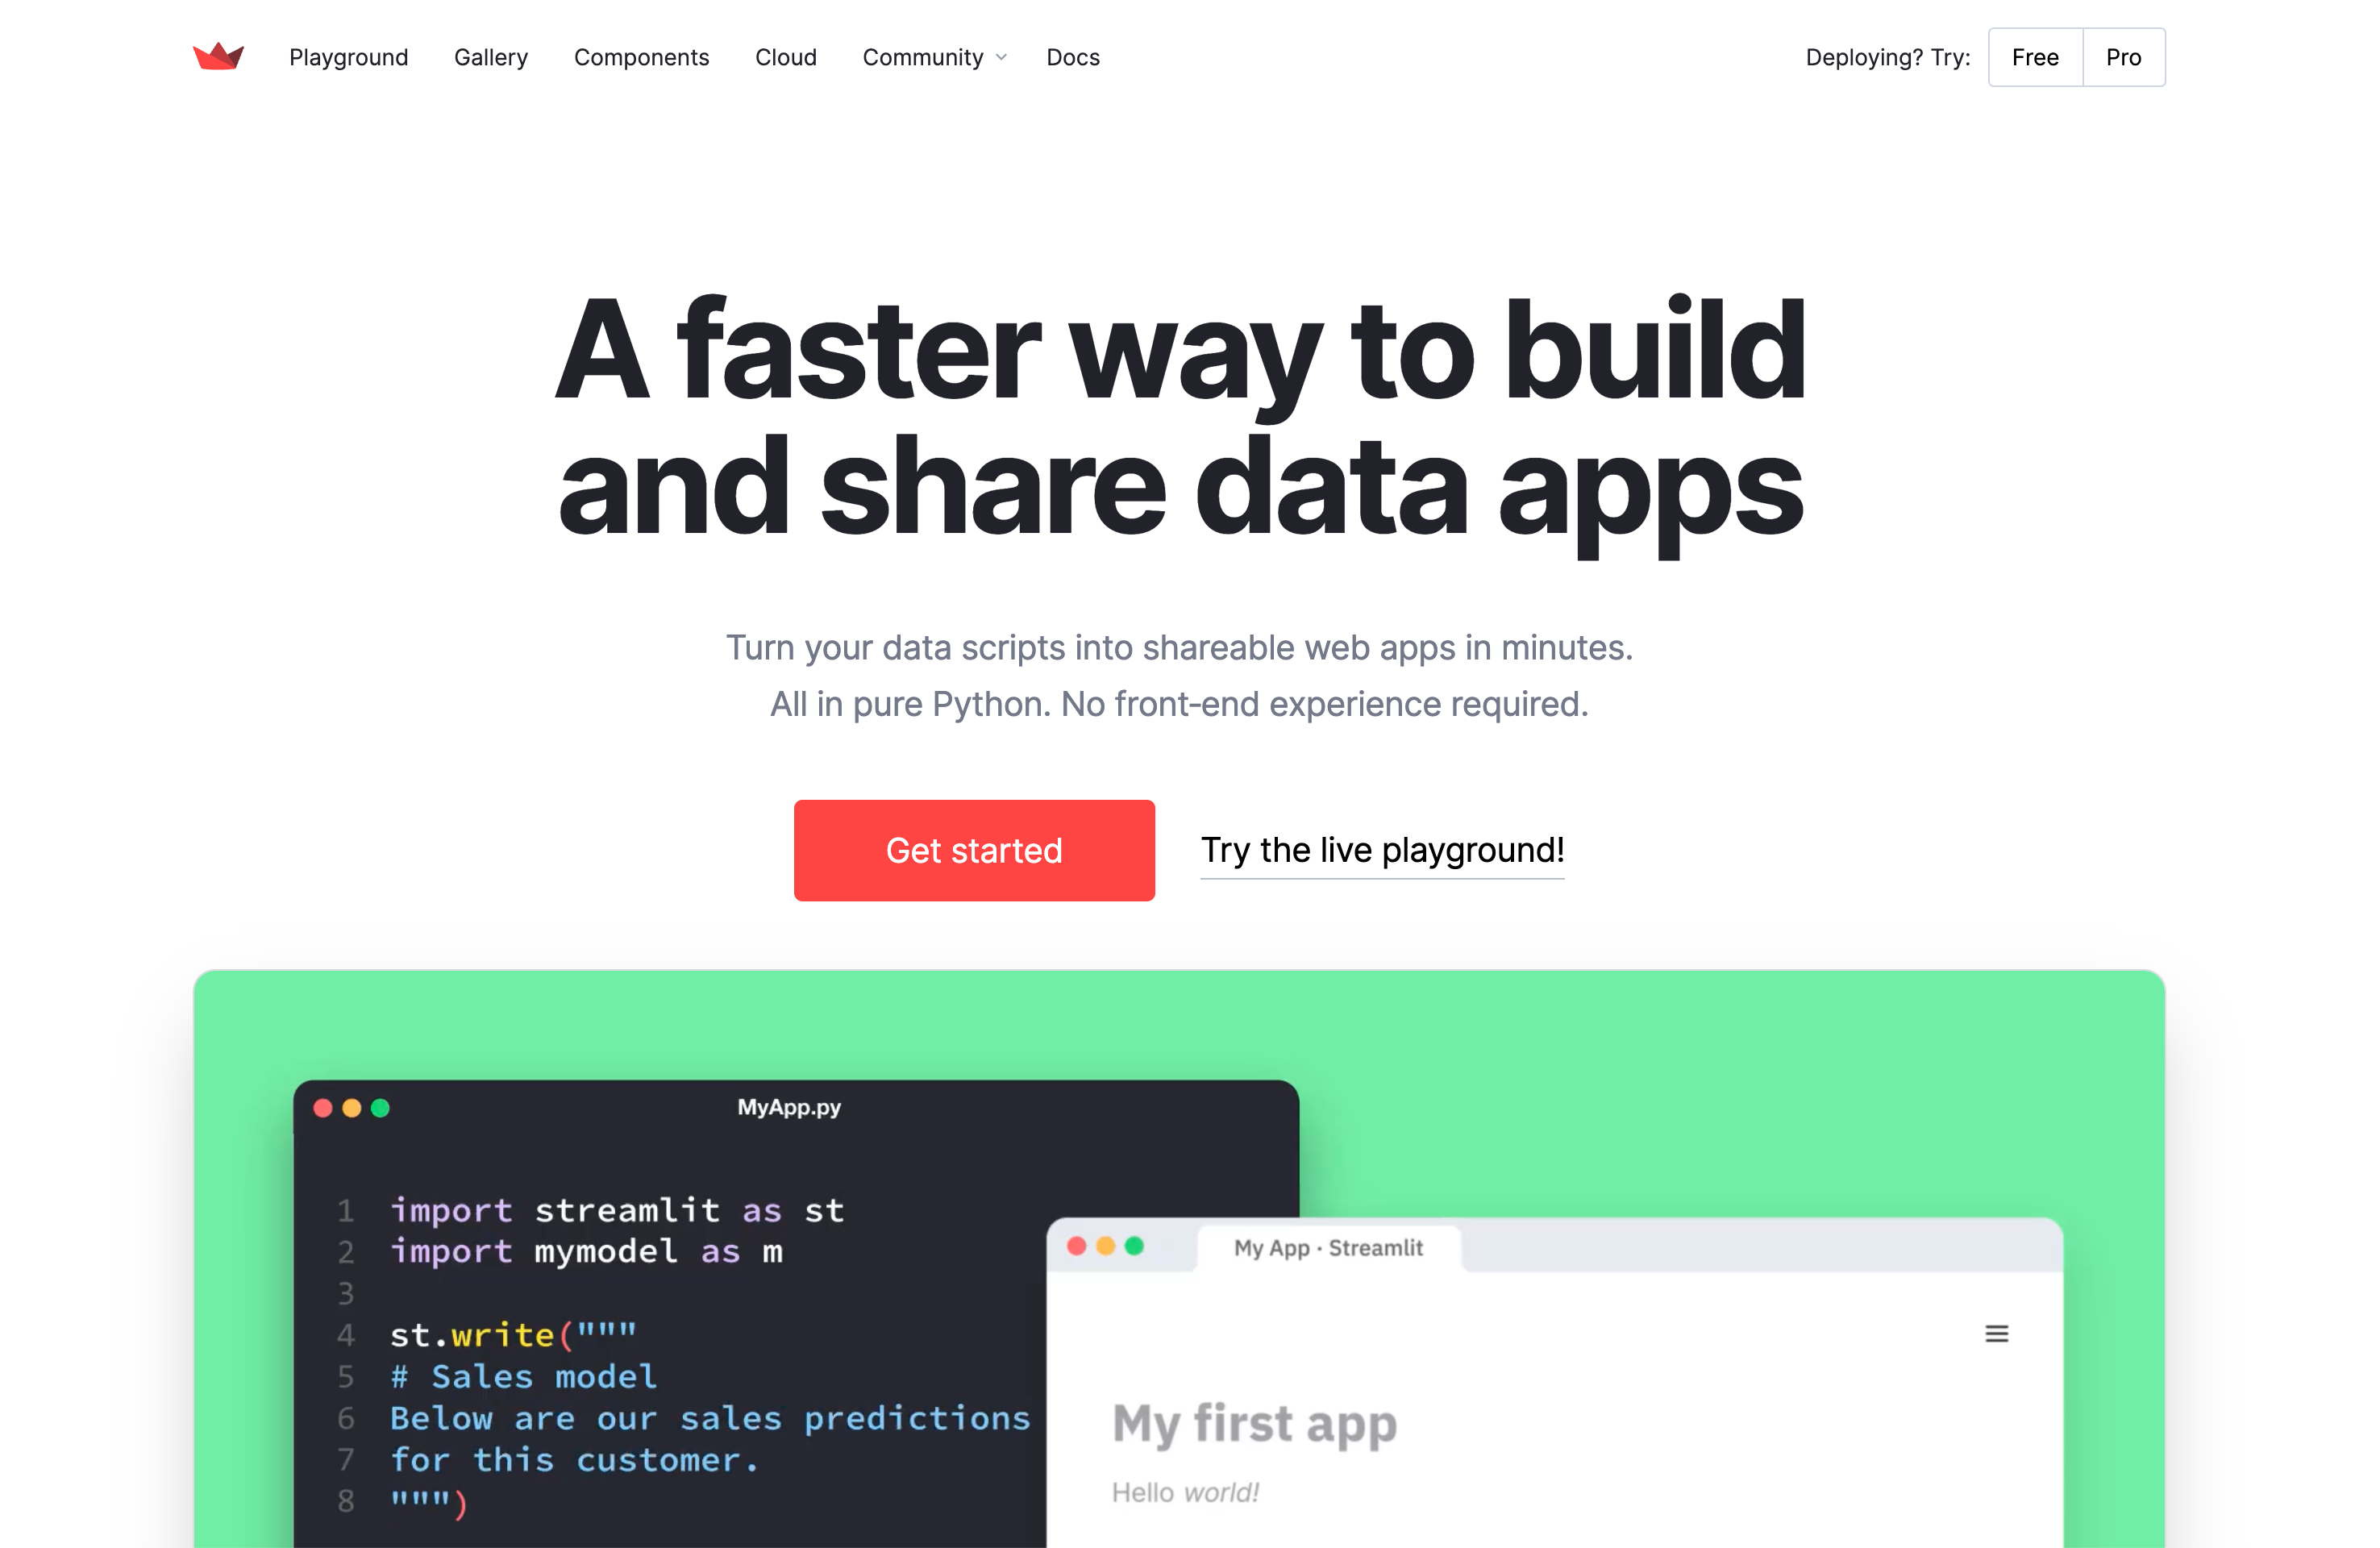
Streamlit 提供了简洁的 API,使得开发者可以专注于核心逻辑,而无需处理繁琐的前端开发,能够在几分钟内将数据脚本转化为交互式 Web 应用。

并且 Streamlit 与 LangChain 框架集成,支持与 OpenAI、Hugging Face 等主流 LLM 无缝衔接。还提供了 st.chat_message 和 st.chat_input 等组件,方便开发者构建类似 ChatGPT 的交互式聊天界面。结合 st.session_state,可以实现对话历史的存储和上下文管理,提升用户体验。

在之前分享中,我们也使用过 Streamlit 来构建基于本地文档的AI知识库,可参考「搭建一个本地 AI 知识库需要用到哪些技术栈?」。

🔐 基于 Streamlit-Authenticator 实现用户权限认证

什么是 Streamlit-Authenticator?

在使用 Streamlit 开发应用时,如果你的 Streamlit App 中使用的数据比较敏感,那么,保护这个 App 及其背后的数据免受未授权访问变得至关重要。无论是出于商业机密的保护、用户隐私的维护,还是为了满足日益严格的合规要求,确保只有经过验证的用户才能访问特定的数据和功能,已成为大部分应用的基本需求。

登录认证,作为访问控制的基础,是保护 Streamlit App 安全的第一道防线。

所以,构建应用的第一步是实现用户权限控制

那么如何优雅地实现 Streamlit App 的登录认证呢?

常见的认证方法有用户名+密码,邮箱/手机接收验证码,基于第三方的认证(OAuth/OpenID)等等。

自己手写认证逻辑不仅繁琐,还容易埋下安全隐患。

这个时候我们只需要借助 Streamlit-Authenticator ,几行代码就能轻松搞定一个专业、安全的用户认证系统:

  • 内置密码哈希加密:自动加密密码,保护账号安全;
  • 支持 JWT Cookie 持久化登录:设置有效期,免除频繁登录;
  • 集成注册、登录、登出功能:无需自己手写复杂逻辑;
  • 简洁好用,快速集成:轻松几分钟就能用起来!

如何使用?

1. 安装

GitHub地址:https://github.com/mkhorasani/Streamlit-Authenticator

1
pip install streamlit-authenticator
2. 创建配置文件

其中需要修改:

1
2
3
4
5
6
7
8
9
10
11
12
13
14
15
16
17
18
19
20
21
22
23
24
25
26
27
28
29
30
31
32
33
34
35
36
37
38
39
40
cookie:
expiry_days: 30
key: # To be filled with any string
name: # To be filled with any string
credentials:
usernames:
jsmith:
email: jsmith@gmail.com
failed_login_attempts: 0 # Will be managed automatically
first_name: John
last_name: Smith
logged_in: False # Will be managed automatically
password: abc # Will be hashed automatically
roles: # Optional
- admin
- editor
- viewer
rbriggs:
email: rbriggs@gmail.com
failed_login_attempts: 0 # Will be managed automatically
first_name: Rebecca
last_name: Briggs
logged_in: False # Will be managed automatically
password: def # Will be hashed automatically
roles: # Optional
- viewer
oauth2: # Optional
google: # Follow instructions: https://developers.google.com/identity/protocols/oauth2
client_id: # To be filled
client_secret: # To be filled
redirect_uri: # URL to redirect to after OAuth2 authentication
microsoft: # Follow instructions: https://learn.microsoft.com/en-us/graph/auth-register-app-v2
client_id: # To be filled
client_secret: # To be filled
redirect_uri: # URL to redirect to after OAuth2 authentication
tenant_id: # To be filled
pre-authorized: # Optional
emails:
- melsby@gmail.com
api_key: # Optional - register to receive a free API key: https://stauthenticator.com
3. 导入配置并初始化
1
2
3
4
5
6
7
8
9
10
11
12
13
14
15
import yaml
from yaml.loader import SafeLoader

with open('../config.yaml') as file:
config = yaml.load(file, Loader=SafeLoader)

# Pre-hashing all plain text passwords once
# stauth.Hasher.hash_passwords(config['credentials'])

authenticator = stauth.Authenticate(
config['credentials'],
config['cookie']['name'],
config['cookie']['key'],
config['cookie']['expiry_days']
)
4. 登录
1
2
3
4
try:
authenticator.login()
except Exception as e:
st.error(e)